Using the SCP-Integrated Library
In this step, you will merge the contents of standard RMS SDK installation with the SCL Add-on for Sentinel RMS Package to:
• Obtain SCL samples for the connected (Cloud LM) mode, and
•Setup the environment required for the execution of the samples
To merge Sentinel RMS SDK and SCL Add-on for Sentinel RMS Package:
1.Unzip the SCL Add-on for Sentinel RMS package (zip archive) by using the password received in the Thales Sentinel Order Secret email.
2.Unzip the Windows-specific SCL Add-on for Sentinel RMS package (Sentinel Cloud Add-On Windows.zip), and copy all its sub-folders (Development, Manuals, Redistributable, and Samples).
3.Go to the folder where RMS SDK is installed, that is: C:\Program Files (x86)\Thales\Sentinel RMS Development Kit\10.x\.
Paste the folders copied in the step above, and confirm to merge the folders.
You can configure SCP either using the SCP configuration file or using the RMS Unified APIs.
Using the SCP Configuration File
1.Navigate to the folder containg the SCP configuration file (sntlcloudp_configuration_[vendor_alias].xml) available in the interface-specific folder inside the Samples folder.
•For C: \Samples\C\
•For Java: \Samples\Java-Jna\
•For .NET: \Samples\DotNet-Unmanaged\
2.Double click the SCP configuration file to open it, and update the following:
a.Copy the tenant host URL from the Thales Sentinel Order emails and specify it in the SCP configuration file. Example:
<TenantHostAddress value="https://abc.prod.sentinelcloud.com" />
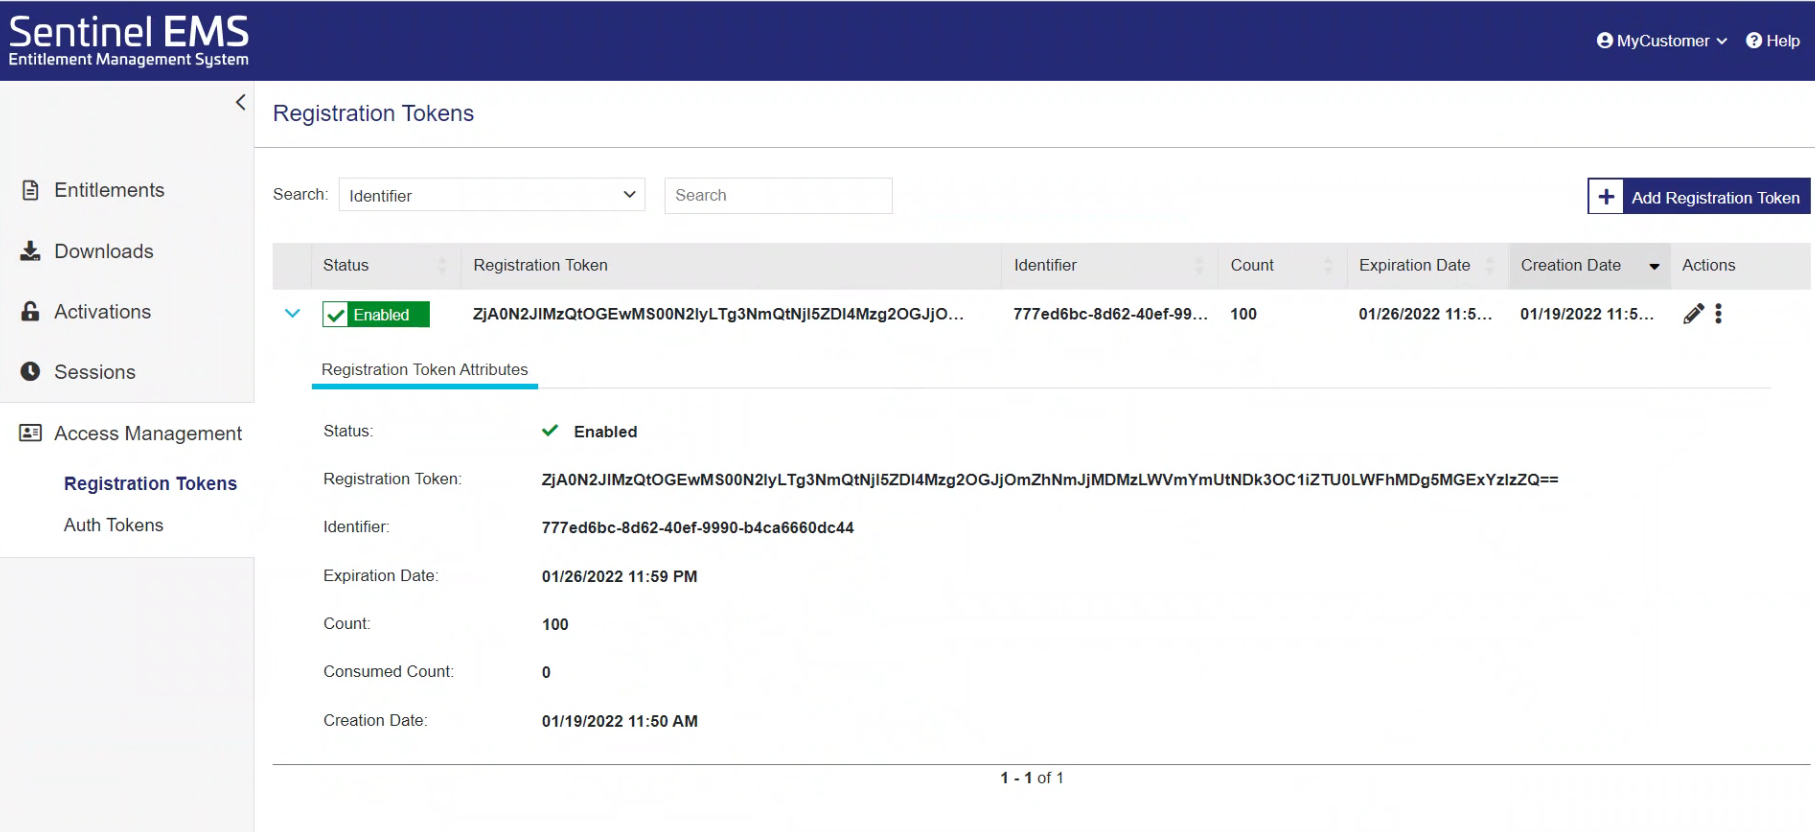
b.In the Registration Token element, set the value to the registration token created using Sentinel EMS customer portal (defined in the previous step).
<RegistrationToken value="ZDk4ODM5NjctMzJlOS00YWQ3LWJhZGUtYWNhZjEyNzY3OTkxOnRhMmU5Zjg1LTU5ZGEtNGI1My04MGUxLWY1MWZlOTAxMWIzMQ=="/>
Using the RMS Unified APIs
You can choose to configure SCP through the RMS Unified APIs via the SNTL_ATTR_CONFIG_SCP_USE_ CONFIG_FILE attribute.
In this step, you will compile and run the sntl_cloud_demo C sample to consume the Connected (Cloud LM) license.
To compile the sntl_cloud_demo.c sample:
1. Run the persistence creation sample (sntl_lspmgmtinit.c) placed in: C:\Program Files (x86)\Thales\Sentinel RMS Development Kit\10.x\Samples\C\Src to build and execute persistence.
2.Open Microsoft Visual Studio as Administrator.
3.Open the sntl_scl_sample.MSVS2012.sln solution file in Visual Studio. This file is available in the \Samples\C\ folder.
4.(Optional) By default, the feature name is Addition and feature version is 1 in the sample source file. However, if you have created a feature in EMS by a different name and version, you can change the defaults in the sample. To do so:
a.In the Solution Explorer, navigate to the sntl_cloud_demo folder, expand Source Files and double-click the sntl_cloud_demo.c file to open it.
b.In the source file, change the feature name and feature version to the values defined in EMS.
5.By default, CONTACT_SERVER is set to sntl-cloudlm.
6.Build the sample. To do so, right-click the sntl_cloud_demo folder in the Solution Explorer, and click Build. The output is the sample application executable (.exe) in one of the following directories depending on the configuration setting (Release or Debug):
\Samples\C\Out\MSVS2012\x86\Release
\Samples\C\Out\MSVS2012\x86\Debug
To execute the sntl_cloud_demo.c sample:
1.Open the command prompt.
2.Change the directory to the output folder by running the following command:
cd C:\Program Files (x86)\Thales\Sentinel RMS Development Kit\10.x\Samples\C\Out\MSVS2012\x86\Release
3.Execute the sntl_cloud_demo.exe file.
You are required to press Enter when prompted to proceed with its execution.

