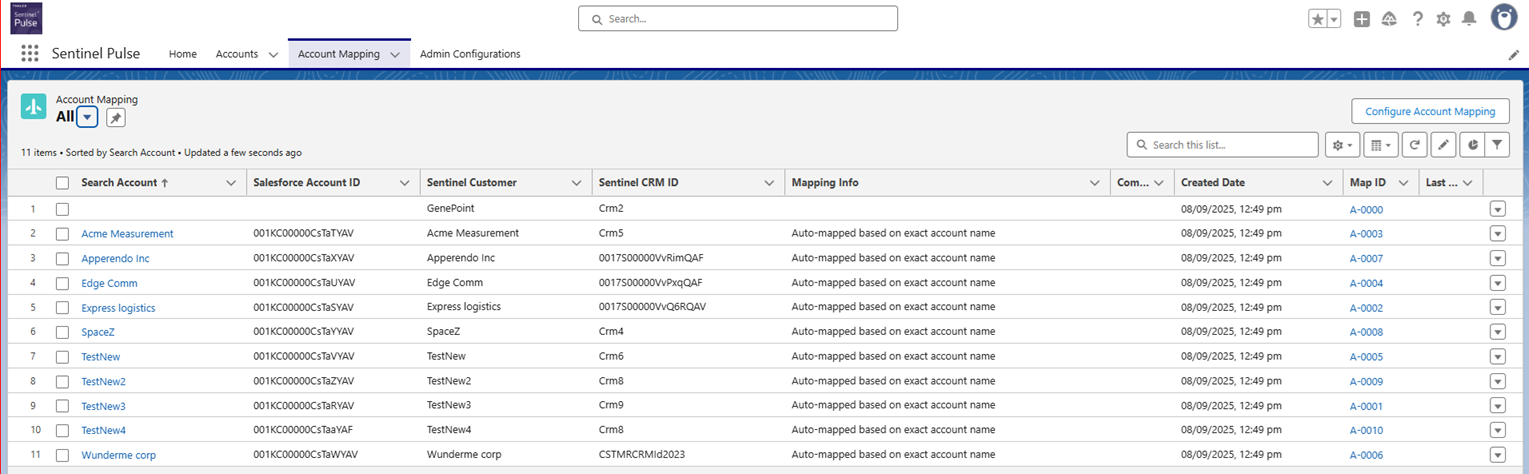
Displaying the Configure Account Mapping Button in Account Mapping Tab
This section explains how to add the Configure Account Mapping button under the Account Mapping tab. The Configure Account Mapping feature lets you change the default mapping criteria. For more information on modifying mapping criteria, see the Sentinel Pulse User Guide.
NOTE Perform these steps only if you upgraded from v1.7 and need to change the default mapping criteria. Ensure that the Setting Up Admin Configurations tab is created and added before you begin.
1.In the top-right corner, click Settings, and then select Setup.
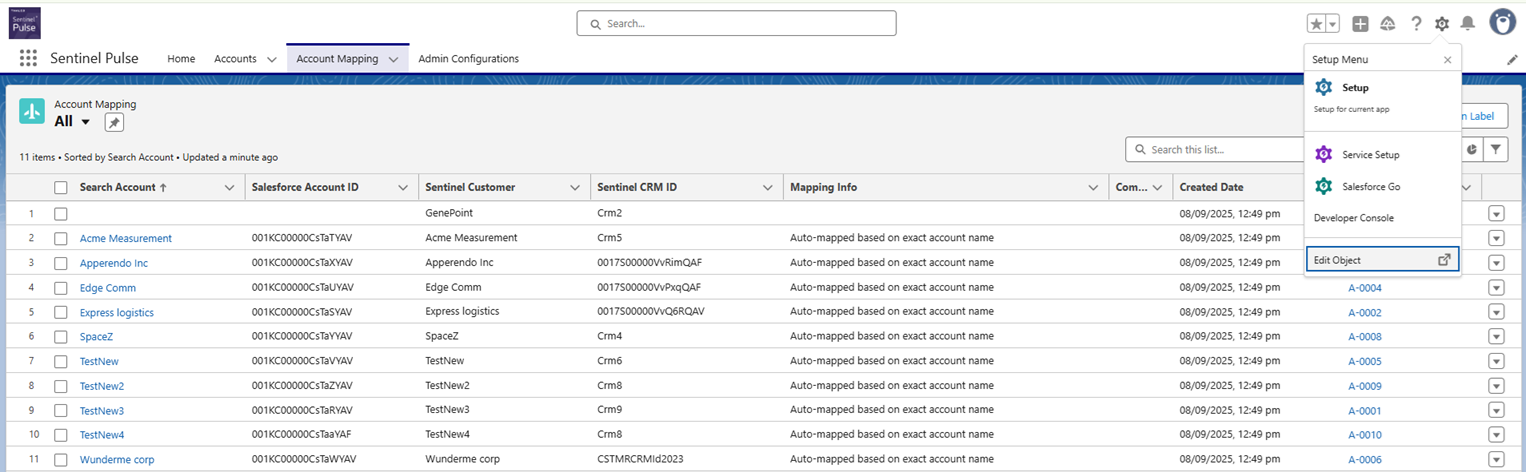
2.From the Setup Menu, choose Edit Object to open the Object Manager tab for Account Mapping.
3.In the Object Manager tab, click List View Button Layout.
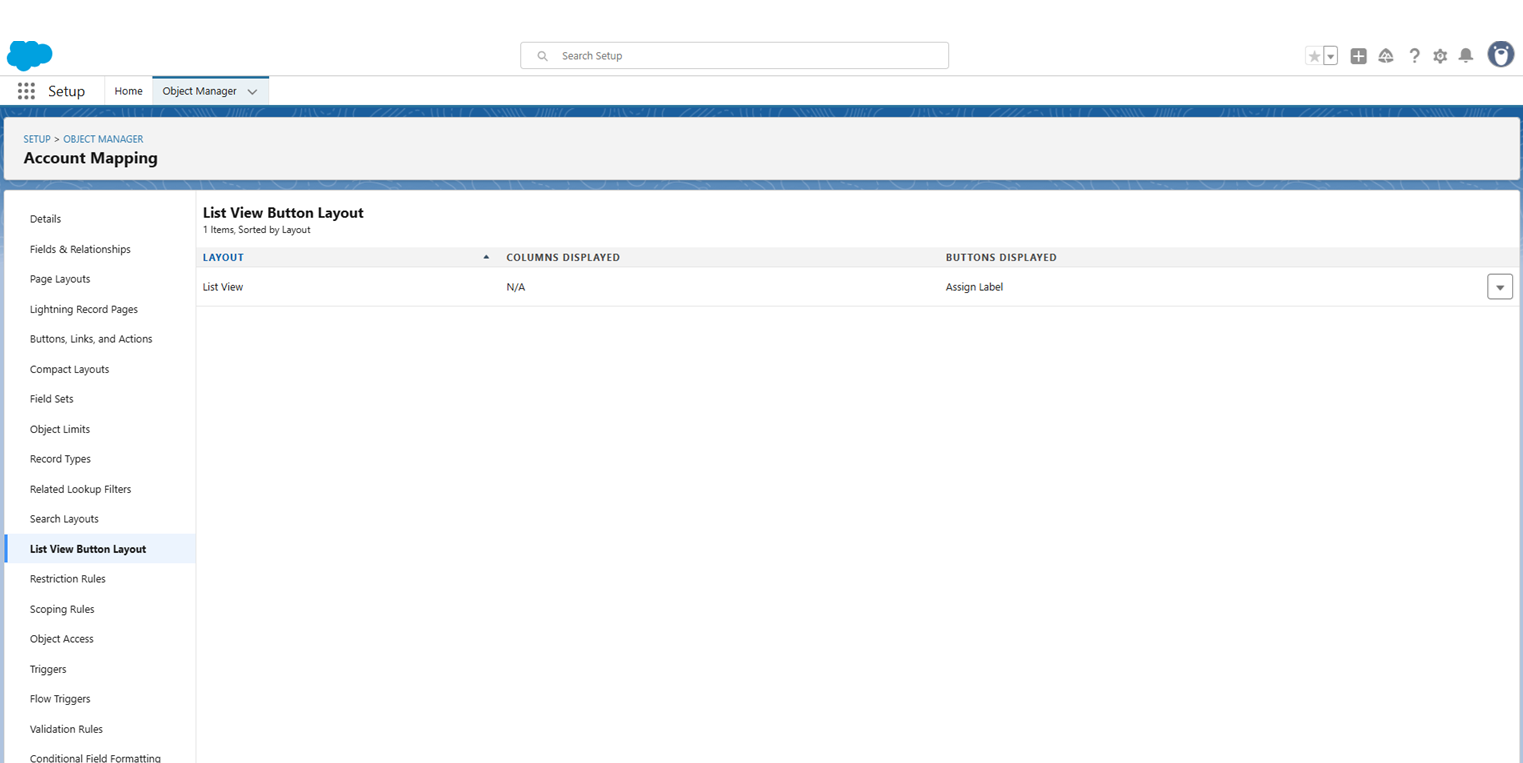
4.On the right, use the drop-down button to click Edit.
5.In the Account Mapping List View:
•Under Standard Buttons, clear the Assign Label [MassAssignRecordLabel] check box.
•Under Custom Buttons, move Configure Account Mapping from Available Buttons to Selected Buttons.
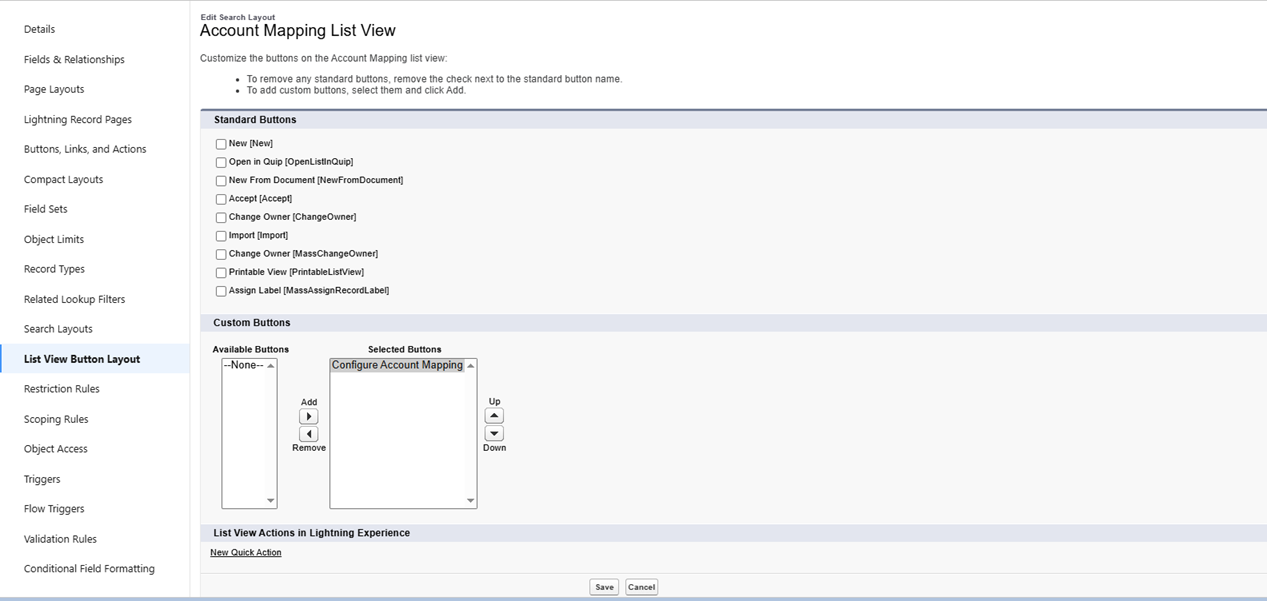
6.Click Save. The Configure Account Mapping button is now available under the Account Mapping tab.