Setting Up Advanced Notifications
In order to create the Notifications tab in your app, perform the following steps after setting up the dashboards.
Adding the Notification Jobs
To add the Notifications jobs:
1.On the top right of the Salesforce page, click the Setup button.
2.On the Setup page, type Scheduled Jobs in the Quick Find box. To enable half-hourly notifications, you need to configure two notification jobs.
3.Click Schedule Apex.
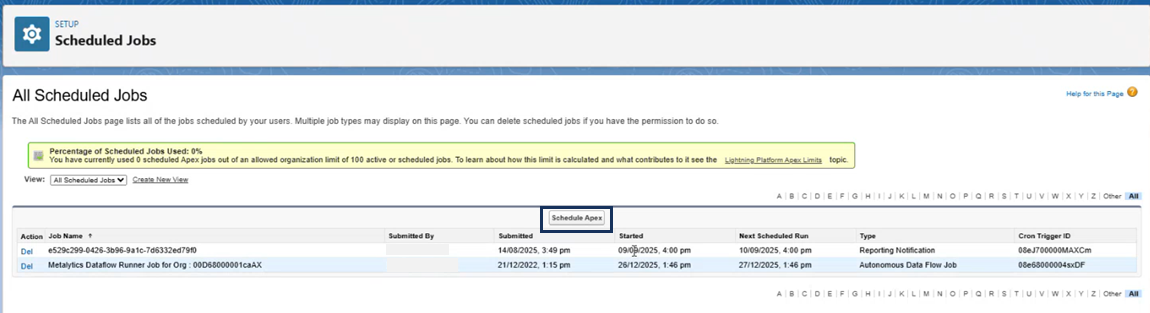
4.On the Schedule Apex page, provide the following details:
| Field | Value |
|---|---|
| Job Name | Sentinel Notifications: Runs at Minute 00 |
| Apex Class | SentinelNotificationScheduler |
| Schedule Using | Cron Expression |
| Cron Expression | 0 0 * * * ? |
5.Click Save. The Sentinel Notifications: Runs at Minute 00 job is added in the All Scheduled Jobs list.
6.You need to repeat the steps for adding the Sentinel Notifications: Runs at Minute 30 job:
| Field | Value |
|---|---|
| Job Name | Sentinel Notifications: Runs at Minute 30 |
| Apex Class | SentinelNotificationScheduler |
| Schedule Using | Cron Expression |
| Cron Expression | 0 30 * * * ? |
7.Click Save. The Sentinel Notifications: Runs at Minute 30 job is added in the All Scheduled Jobs list.
Adding the Notifications Tab
To add the Notifications tab:
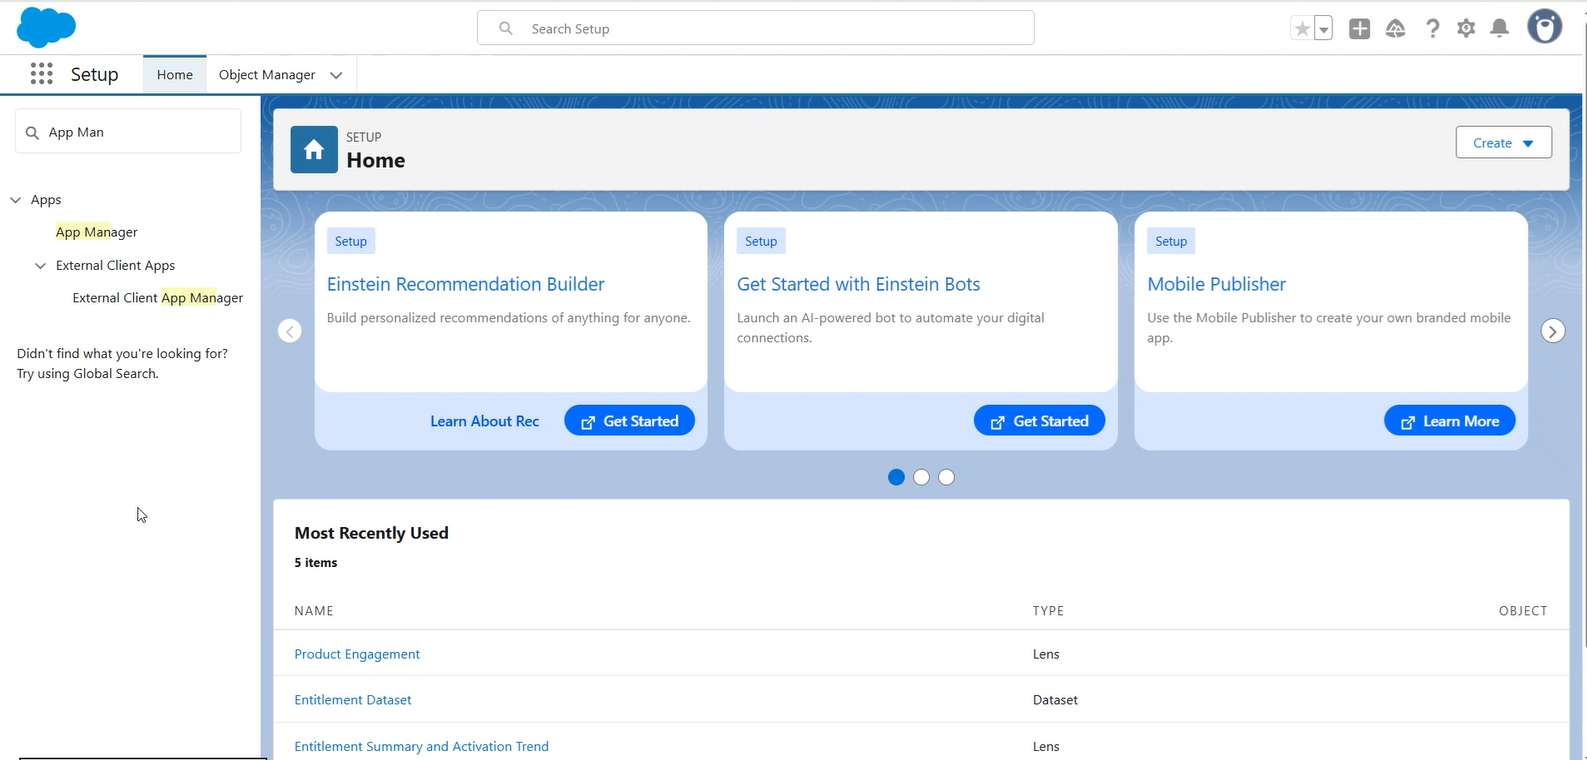
1.In the top-right corner, click Settings, and then select Setup.
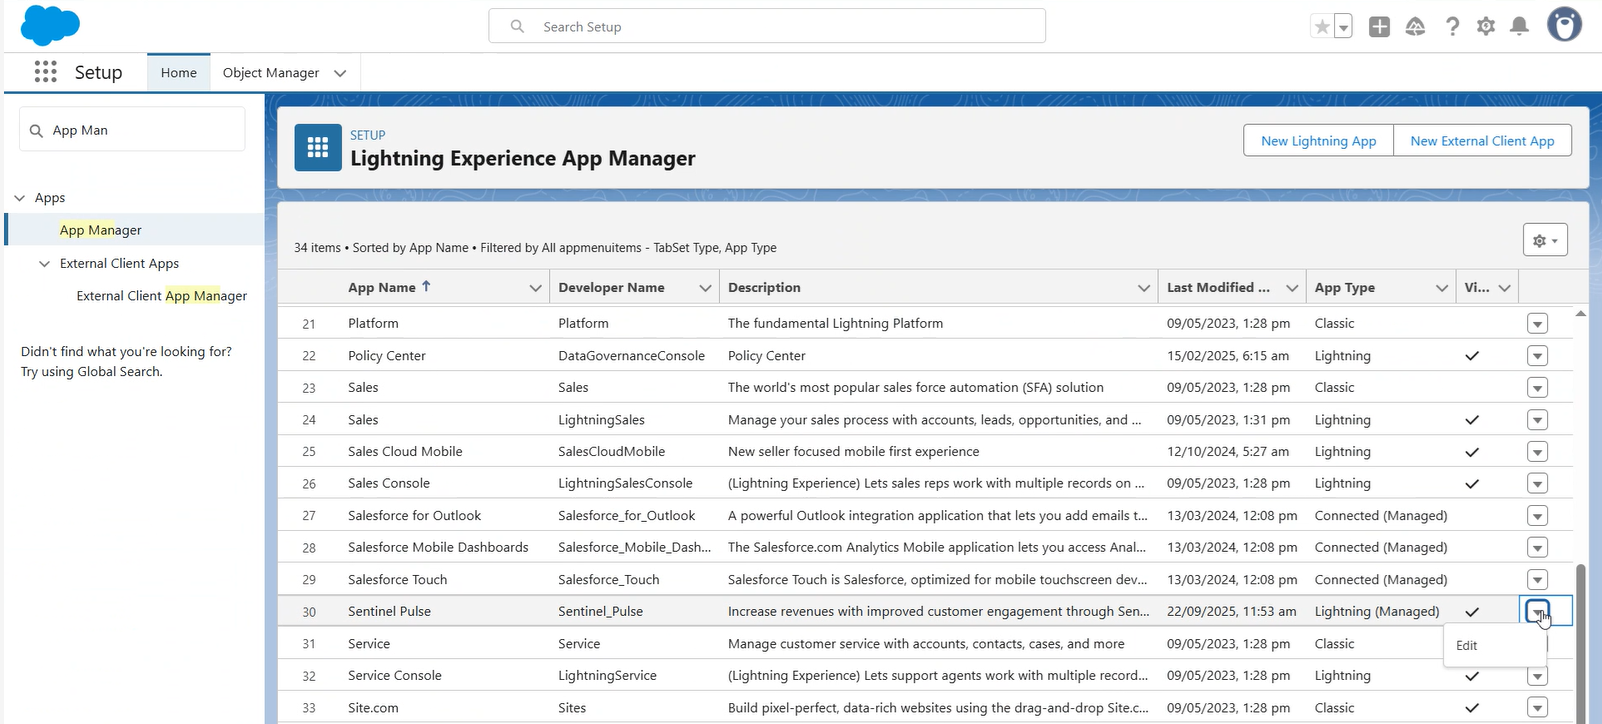
2.In the Setup page, under the Quick Find box, search for App Manager.
3.In the Lightning Experience App Manager, search for Sentinel Pulse. On the right, use the drop-down button to click Edit.
4.On the App Settings page, click Navigation Items.
5.Under Navigation Items, move Notifications from Available Items to Selected Items.
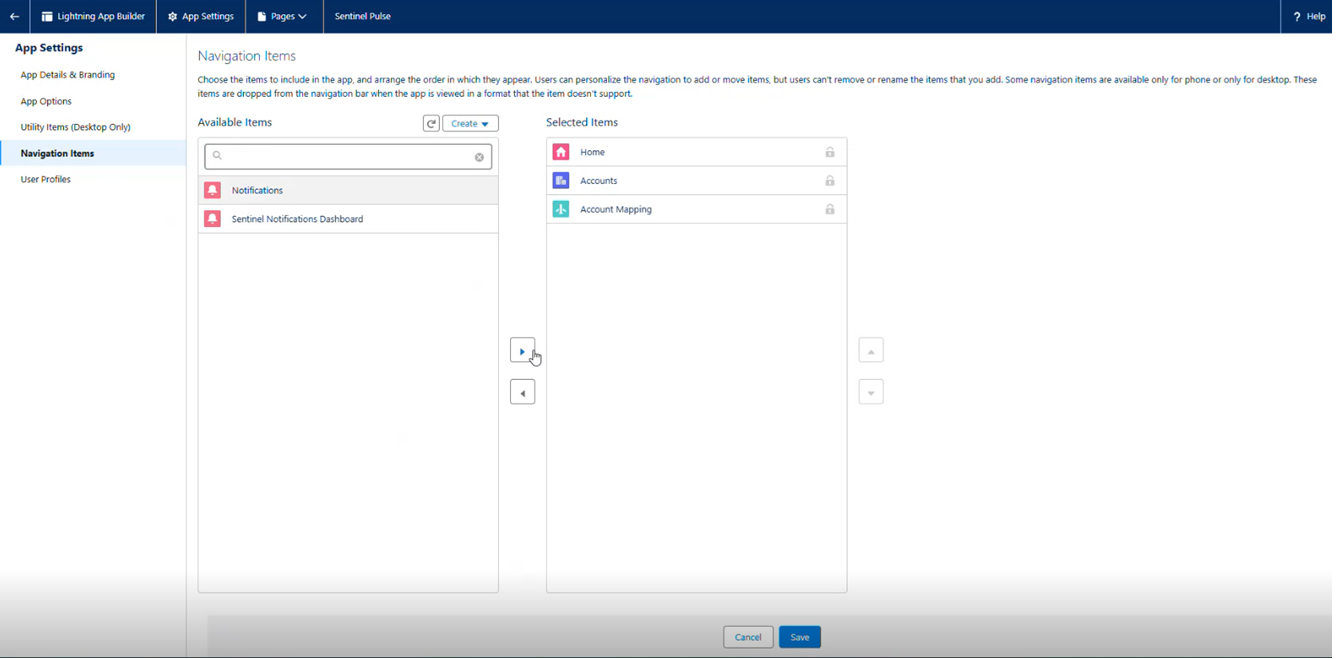
6.The Notifications tab is added in the Sentinel Pulse app.
![]()
See Also:
For details on adding, managing, and viewing notifications, refer to: Using the Notifications Tab